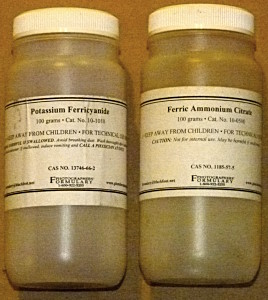
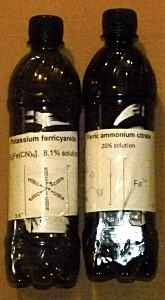
You will need to make up a 8.1% (w/v) solution of potassium ferricyanide. That is 8.1 grams of the potassium ferricyanide dissolved in 100 ml of water.
Also prepare a 20% solution of ferric ammonium citrate. Use 20 grams of ferric ammonium citrate in 100 ml of water.
Neither concentration is critical but for the best results you shouldn't be way off.
For the next step you will need paper or cloth that will use to make
the blueprint. You can use anything absorbent that can be soaked
and then dried. We have used watercolor paper, other art paper,
paper towels, cotton, polyester and wool cloth. The image may fade over time if
you use expensive acid free papers so it is better to avoid them.
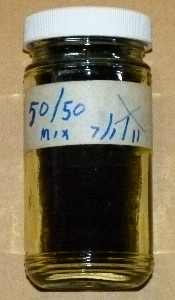
Mix equal amounts of each of the two solutions and coat the paper or
cloth by dipping or painting it on. The solution will be
sensitive to light so do this in a dimly lit area but you don't need to
work in the dark.
When the paper/cloth has been covered with the solution let it dry at room temperature in a dark place.
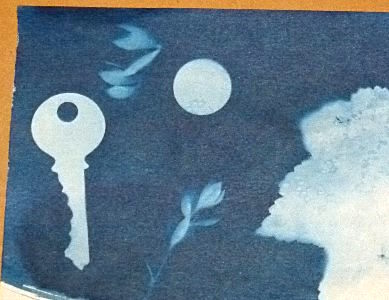
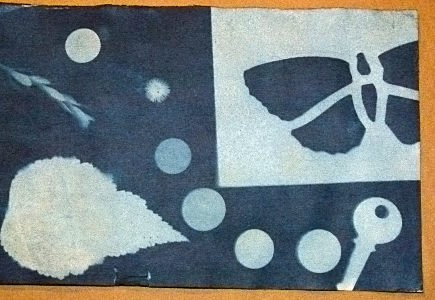
Once it is dry it is ready to make an image. Pin the paper/cloth
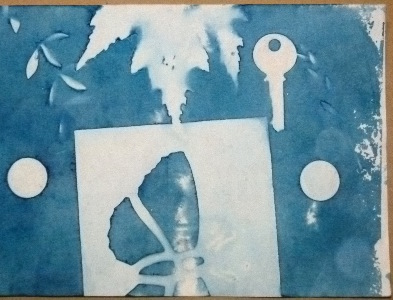
to a piece of cardboard and arrange some objects on it. We have
used leaves, bugs (dead and plastic ones), keys, coins, flowers,
stencils, and transparencies.
Once you have some things arranged on the paper (pin down any that may blow around) take it outside and expose it to sunlight.
You will be able to see the color of the paper/cloth change from
greenish to blue over the next few minutes. It may take 5 to 20
minutes depending on the weather. It can actually be quite cloudy
and still work. It will just take more time. When the color
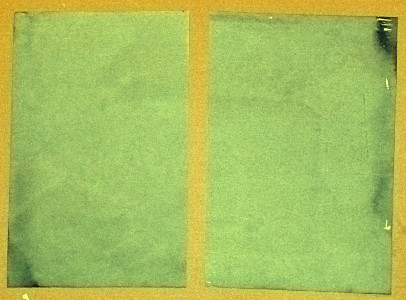
has changed you can take your picture inside and rinse it. That
will remove the unreacted chemicals from the paper/cloth and keep it
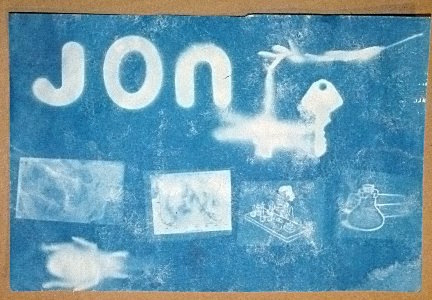
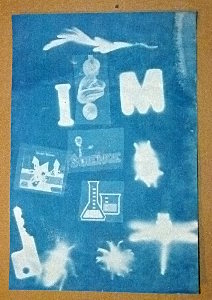
from changing further. Here are some prints that a group of 3rd
to 6th graders did. The figure between the I and M
in the last picture is from some sunscreen on clear plastic.
You can intensify the color by dipping
your picture in a very dilute
hydrogen peroxide solution. Standard household strength (3%)
diluted with 20 parts of water works fairly well. You can also
use a variety of other chemicals to make the color less intense sodium
carbonate, ammonia, Clorox, and borax for example. Try citric acid,
lemon juice, and vinegar to make the color stronger.
